How to hang and install your oak sign
Some people find it a bit daunting to hang things on the wall, and it really isn't that difficult. Most of our oak signs go up in one of two ways: on a wall, using the hidden fixings on the back, or standing on two oak legs in a flower bed or lawn. Here is how we put up two of our own.
Hanging your sign on a wall
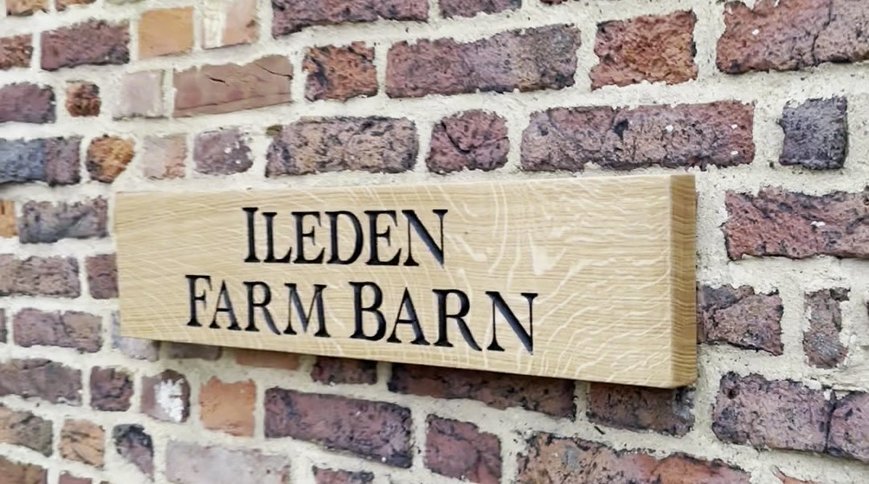
All our wall-hung signs, peg rails and key holders come with what I call upside-down keyholes, routed into the back of the oak. You put a screw in the wall, the keyhole goes over the head of the screw, and the sign slides down, hooks on and is secure. Nothing shows from the front.
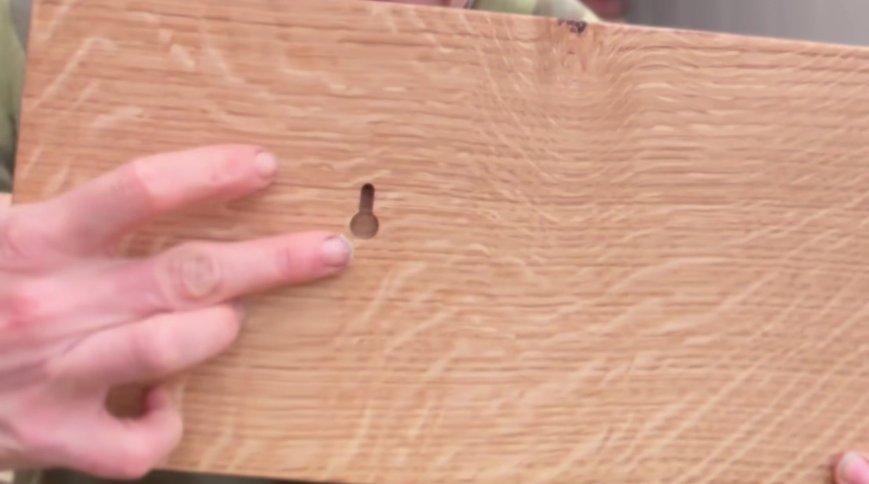
What you'll need
- Tape measure
- Pencil
- Spirit level
- A drill, with a masonry bit for brick or stone
- Wall plugs and screws to suit your wall
Which plugs and screws you need depends on what your wall is made of. Speak to us or your local DIY shop if you're not sure.
Step by step
1. Measure between the keyholes. Measure the distance between the two keyholes on the back of your sign. On our Ileden Farm Barn sign it was 50 cm.
2. Mark the first fixing. Decide where the sign is going and mark the wall for the first screw.
3. Level up and mark the second. Use a spirit level and tape measure to mark the second fixing, the same distance along and level with the first.
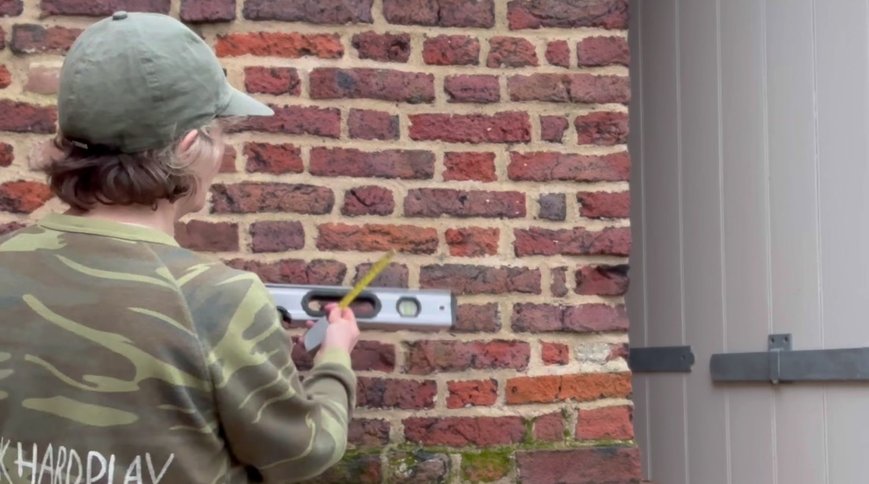
4. Drill the holes. Drill a hole at each mark. On brick or stone, use a masonry drill bit.
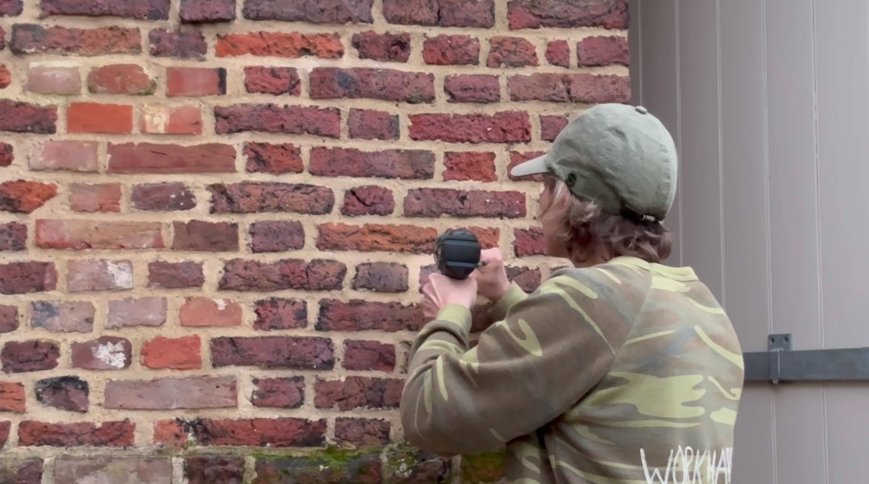
5. Plug and screw. Push a wall plug into each hole and screw a screw in halfway, so the head stands out from the wall for the keyhole to hook over.
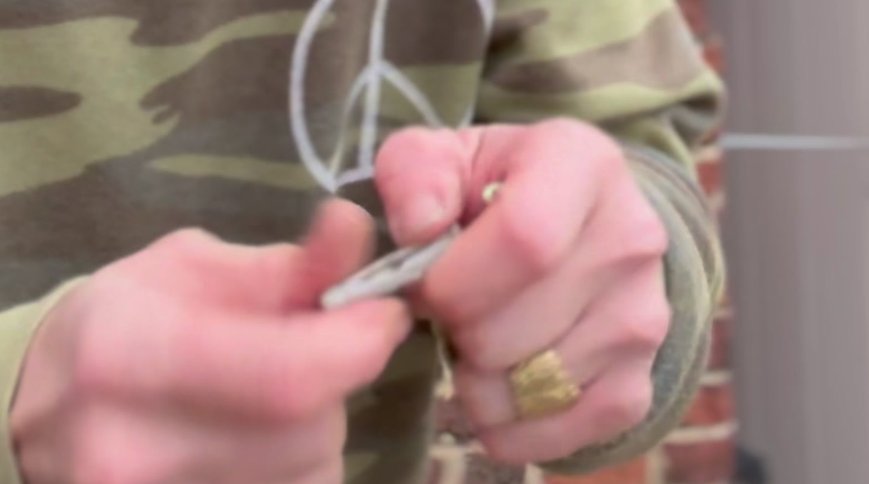
6. Hook it on. Lift the sign up to the wall, find the screw heads with the keyholes and let it slide down. It hooks on and stays put.
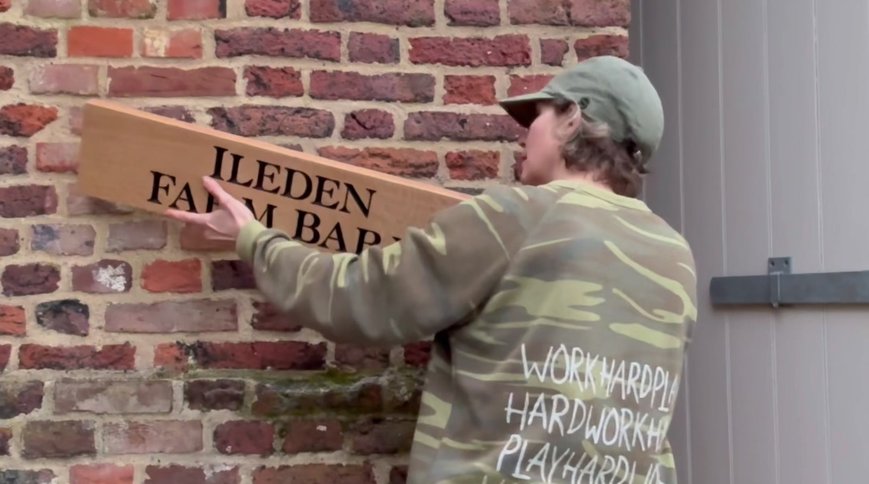
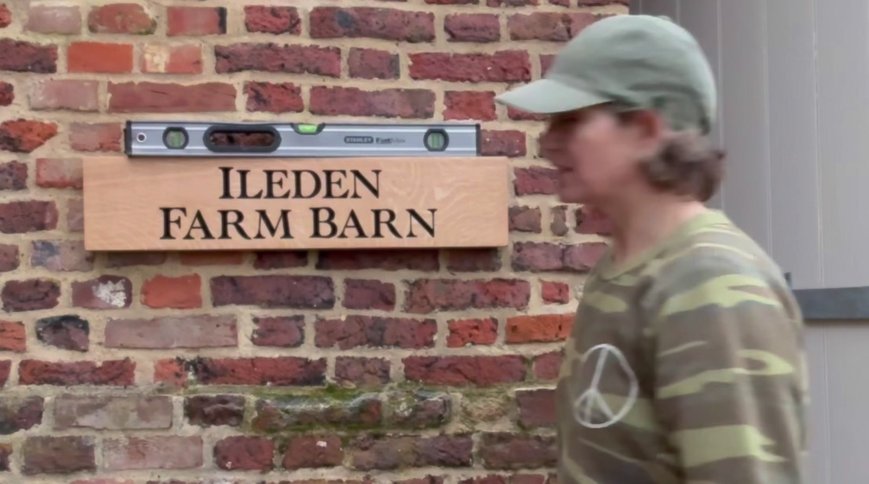
7. Check it's straight. Stand back and have a look, or rest a spirit level on top. Ours was pretty straight first time.
Standing your sign on legs in a bed or lawn
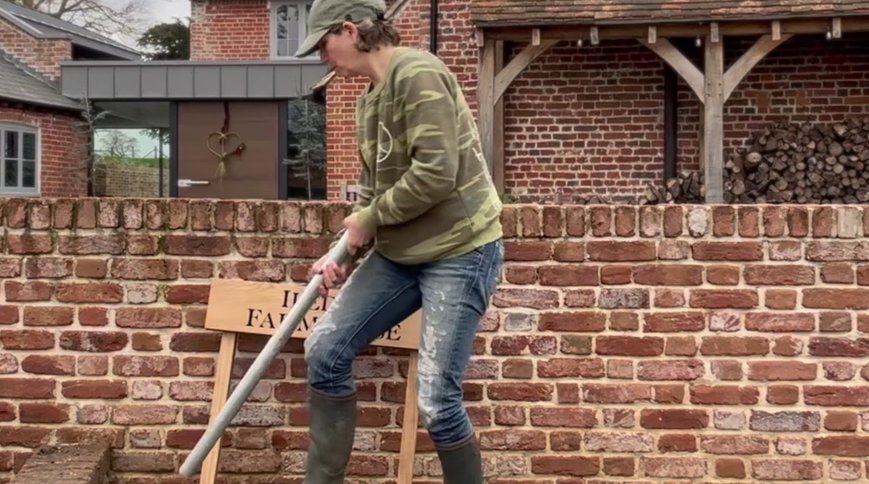
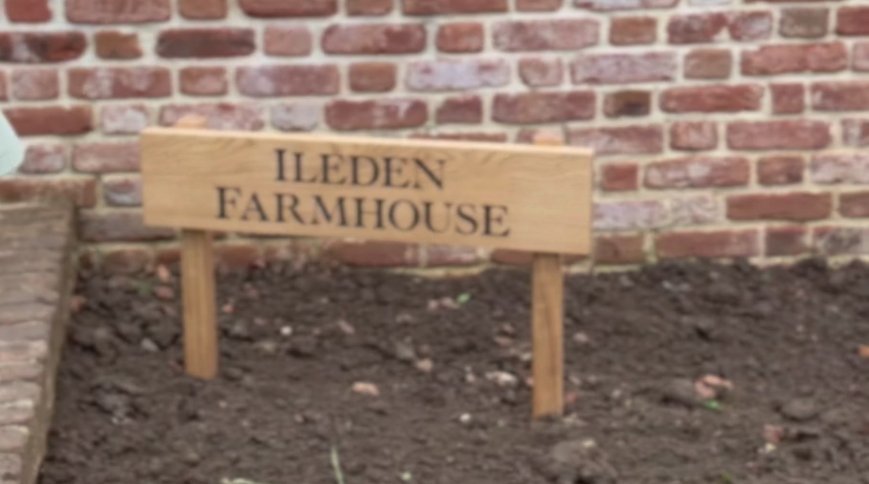
A sign on two oak legs looks lovely at the front of a flower bed or on a lawn. This is how we put up our Ileden Farmhouse sign in a raised bed.
What you'll need
- Your sign and its two oak legs, with the screws we send
- A Phillips screwdriver, or a cordless screwdriver to make it quicker
- A garden spike or long metal bar, to make the holes for the legs
- A sturdy pair of boots
- A saw, only if you'd like the sign to sit low
Step by step
1. Fix the legs to the sign. Screw the two legs to the back of the sign with the screws we send. We drill the pilot holes in the workshop, so an ordinary Phillips screwdriver will do, though a cordless one makes it quicker.
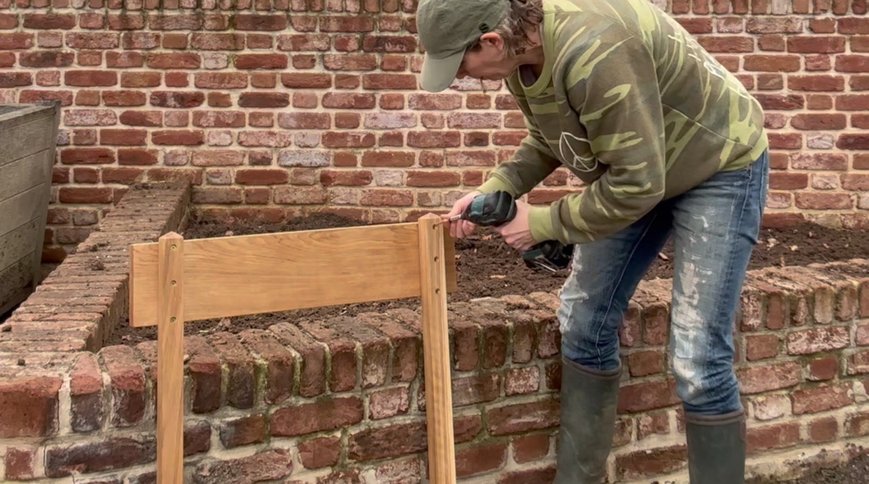
2. Stand it in place. Stand the sign where you want it, so you can see where the holes for the legs need to go.
3. Make the holes. Push a garden spike down into the ground where each leg goes, leaning or standing on it to get it down. I used an old scaffolding pole, but a spike does the job better.
4. Push the legs in. Press down on the top of the sign to work the legs into the holes.
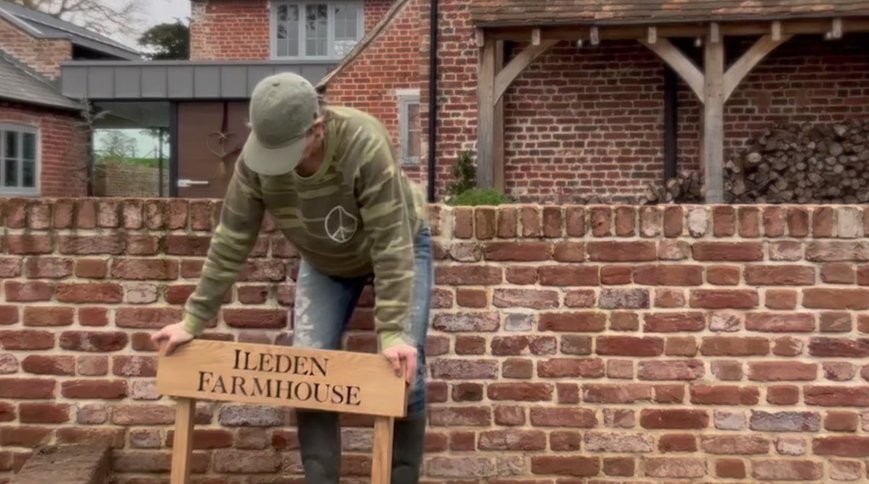
5. Check it's straight. Stand back and look at it from the front, and adjust it now, before you firm it in.
6. Firm it up. Tread the soil down around each leg with your boots, so the sign doesn't rock.
How deep should the legs go?
There's no single answer. It depends on your ground, how likely the sign is to be knocked or pushed over, and how high you'd like it to sit. If you want it low, it's much easier to cut a little off the legs than to dig very deep holes.
Putting up a tall sign post or mile post instead? See our guide on how to install a post.
Looking after your sign
We like our signs to weather in. Left outside, oak slowly turns a gorgeous soft silver, and that's the look we're hoping for.
On the way there, your sign may go through an 'ugly duckling' stage. Depending on where it is, it can look as if the letters are bleeding, with some discolouration below them. It doesn't happen to every sign. It's simply temporary colouring in the oak from the water that runs out of the letters. If you chose painted letters, the paint is permanent and isn't what's colouring the wood.
This stage passes in a couple of weeks, and then the whole sign settles to that mellow weathered oak colour. No treatment is needed. We expect our signs to outlast most of us.
A few tips
- Before you drill, check the wall for hidden cables and pipes.
- Plasterboard, tiles and timber need different fixings from brick and stone, so use plugs and screws made for your wall.
- If the sign won't slide down onto the screws, turn them out a little. If it feels loose, turn them in a touch.
Find your sign
- Rectangular Sign: for house names of more than one word. It can be wall hung or put up on one or two posts.
- Horizontal Sign: hangs on the wall with the same upside-down keyholes, and we can supply two posts if you'd like it freestanding.
- Large Sign on 2 posts: a larger sign made to stand on two posts.
- Peg Rail: hangs on the wall with the same upside-down keyholes.
- Small Key Organiser: hangs on the wall with the same upside-down keyholes.
Watch how we do it
Hanging a sign on a brick wall, with Jeanette talking you through each step.
Putting a sign on two oak legs into a raised flower bed.
Watch Jeanette do it on Instagram: hanging the Ileden Farm Barn sign on a brick wall and putting the Ileden Farmhouse sign into a raised bed.
Hanging a peg rail? It works the same way, and we show it step by step in how to hang up a coat peg rail on your wall.